Imagine vibrant bursts of red cascading from a hanging basket, a miniature tomato vineyard right outside your door. Growing cherry tomatoes in a hanging basket isn't just a charming aesthetic choice; it's a surprisingly practical way to enjoy fresh, homegrown goodness, even if you're short on space. It's easier than you might think, and the rewards are delicious! Growing Cherry Tomatoes in Hanging Baskets: A Complete Guide Growing cherry tomatoes in hanging baskets offers a delightful way to bring fresh produce to even the smallest spaces. Whether you have a sprawling garden or a tiny balcony, the vibrant foliage and sweet, juicy fruits of cherry tomatoes add beauty and flavor to your surroundings. This guide will walk you through every step, from choosing the right basket to harvesting your bountiful crop. Consider these tips your keys to unlocking a cascade of delicious cherry tomatoes right at your fingertips! Why Choose Hanging Baskets fo...
Have you ever looked at a juicy, ripe tomato and wondered if you could just… plant the seeds inside and grow more? The idea of using seeds directly from a tomato can seem a little too good to be true. But it's not only possible, it can be a fun and rewarding way to start your own tomato plants! Let's explore the ins and outs of planting tomato seeds directly from a tomato.
Can You Really Plant Tomato Seeds From a Tomato?
The short answer is yes, absolutely! However, there are a few things you need to know to increase your chances of success. Not all tomatoes are created equal when it comes to seed starting, and the process requires a bit of preparation to ensure your seeds germinate and grow into healthy plants. We are going to dive deep into the process of planting tomato seeds from a tomato, covering everything from selecting the right tomato to caring for the seedlings.
Choosing the Right Tomato for Seed Saving
Selecting the right tomato is the first and most important step. Not all tomatoes are suitable for seed saving. Hybrid tomatoes, which are the result of cross-pollinating two different varieties, may not produce true-to-type offspring. This means that the plants grown from their seeds might not have the same characteristics as the parent tomato. Here’s what to consider:
- Heirloom Varieties: These are your best bet. Heirloom tomatoes are open-pollinated, meaning they've been around for generations and breed true to type. Their seeds will generally produce plants that are very similar to the parent plant. Examples include Brandywine, Cherokee Purple, and Roma tomatoes.
- Open-Pollinated Varieties: Similar to heirlooms, these tomatoes will also produce plants similar to the parent. Look for labels that specifically say "open-pollinated."
- Avoid Hybrids: As mentioned, hybrid tomatoes (often labeled as "F1 hybrids") are less reliable. While you can still try planting the seeds, be aware that the resulting plants may not be what you expect.
Beyond variety, the health and ripeness of the tomato itself matter. Choose a tomato that is:
- Fully Ripe: Overripe is even better! The seeds will be more mature and ready to germinate.
- Healthy: Free from diseases or blemishes. You don't want to propagate any problems.
- From a Reliable Source: If possible, use tomatoes from your own garden or a local farmer you trust. This ensures you know how the tomato was grown and whether it's likely to be a suitable variety.
Keep in mind that saving seeds from store-bought tomatoes can be tricky. You may not know the variety, and some commercial tomatoes are treated to prevent seed germination. However, if you are feeling adventurous, it is worth a try.
The Fermentation Process for Tomato Seeds
This is a crucial step in planting tomato seeds from a tomato! The seeds are surrounded by a gelatinous sac that contains germination inhibitors. Fermenting the seeds removes this sac and kills any seed-borne diseases.
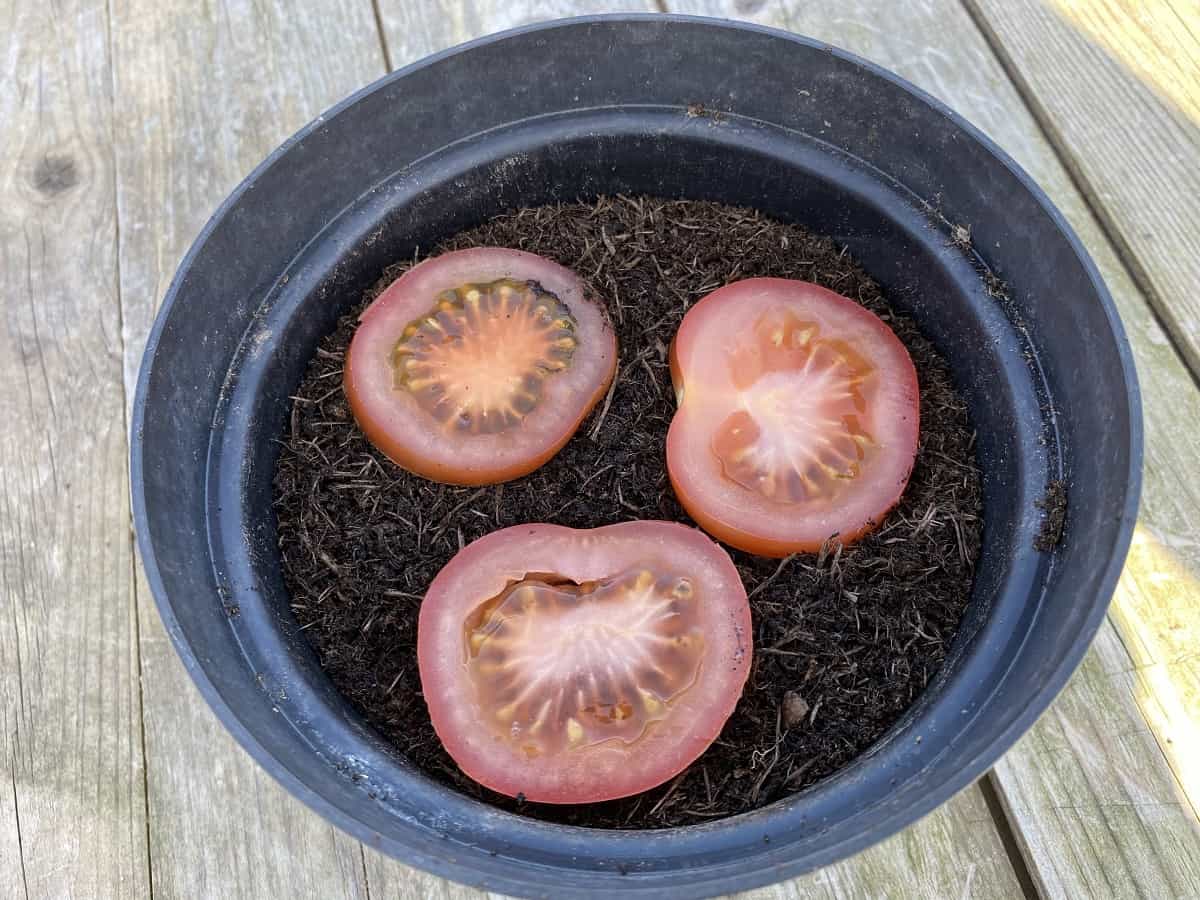
- Scoop Out the Seeds: Cut the tomato open and scoop out the seeds along with the pulp into a small jar or container.
- Add Water: Add about twice as much water as pulp and seeds.
- Ferment: Cover the container loosely (cheesecloth or a paper towel secured with a rubber band works well) and let it sit at room temperature for 3-4 days. Stir the mixture once a day.
Important Tip: You will notice a white or gray mold forming on top – this is normal! It's a sign that fermentation is happening. The mixture will also start to smell a bit funky, but don't worry, it's all part of the process.
- Check for Separation: After 3-4 days, the good seeds will have sunk to the bottom, while the pulp and any bad seeds will float on top.
- Rinse and Dry: Carefully pour off the top layer of mold, pulp, and floating seeds. Add more water to the jar, swirl it around, and pour off the debris again. Repeat this process until you have clean seeds at the bottom of the jar.
- Dry the Seeds: Spread the clean seeds out on a paper towel or coffee filter in a single layer. Place them in a cool, dry place away from direct sunlight. Allow them to dry completely for 1-2 weeks.
Once the seeds are completely dry, they can be stored in an airtight container (like a glass jar or a seed packet) in a cool, dark, and dry place. Properly stored tomato seeds can remain viable for several years. It is important to label the container with the type of tomato and the date you saved the seeds.
Starting Tomato Seeds Indoors
Planting tomato seeds from a tomato is best done indoors, especially if you live in an area with a short growing season. Starting seeds indoors gives your plants a head start and allows you to control the environment during their early stages of development.
When to Start Seeds:
The timing of when to start your tomato seeds depends on your local climate and the length of your growing season. As a general rule, you should start your tomato seeds indoors 6-8 weeks before the last expected frost date in your area. You can find your local frost dates online or by consulting with your local extension office.
Materials You'll Need:
- Seed Starting Trays or Containers: You can use plastic seed starting trays, peat pots, or even recycled containers like yogurt cups or egg cartons (with drainage holes).
- Seed Starting Mix: Use a seed starting mix, which is a light and sterile potting mix designed for germinating seeds. Do not use garden soil, as it can be too heavy and may contain diseases or pests.
- Water: Use room-temperature water.
- Heat Source (Optional): A heat mat can help speed up germination, especially in cooler climates.
- Grow Lights (Optional): Grow lights provide consistent light and prevent leggy seedlings.
The Planting Process:
- Moisten the Seed Starting Mix: Before planting, moisten the seed starting mix with water. It should be damp but not soggy.
- Fill the Containers: Fill your seed starting trays or containers with the moistened seed starting mix.
- Sow the Seeds: Make a small indentation in the soil (about ¼ inch deep) and place 2-3 seeds in each indentation. Cover the seeds lightly with more seed starting mix.
- Water Gently: Water the soil gently using a spray bottle or a watering can with a fine rose. Avoid overwatering, which can lead to damping off (a fungal disease that can kill seedlings).
- Provide Warmth and Light: Place the seed starting trays or containers in a warm location (ideally 70-75°F). If you are using a heat mat, place it under the trays. Provide adequate light, either from a sunny window or grow lights.
- Keep the Soil Moist: Check the soil moisture regularly and water as needed to keep the soil consistently moist but not waterlogged.
Caring for Seedlings:
Once the seeds germinate (usually within 5-10 days), it is important to provide proper care to ensure healthy seedling growth. Here are some tips:
- Provide Adequate Light: Seedlings need at least 14-16 hours of light per day. If you are using a sunny window, rotate the trays regularly to prevent the seedlings from leaning towards the light. Grow lights are a more reliable option, as they provide consistent light intensity and duration.
- Thin Seedlings: Once the seedlings have developed their first true leaves (the second set of leaves after the initial seed leaves), thin them out by snipping off the weaker seedlings at the soil level. Leave only one healthy seedling per cell or container.
- Water Regularly: Water the seedlings regularly, allowing the soil to dry slightly between waterings. Avoid overwatering, which can lead to root rot.
- Fertilize: Once the seedlings have developed a few sets of true leaves, start fertilizing them with a diluted liquid fertilizer specifically formulated for seedlings. Follow the instructions on the fertilizer packaging.
Transplanting Tomato Seedlings
Once the seedlings have grown large enough and the weather is warm enough, it's time to transplant them into your garden. This is another key step in successfully planting tomato seeds from a tomato.
Hardening Off:
Before transplanting your tomato seedlings into the garden, you need to "harden them off." This process gradually acclimates the seedlings to outdoor conditions, such as sunlight, wind, and temperature fluctuations. To harden off your seedlings, start by placing them outdoors in a sheltered location for a few hours each day. Gradually increase the amount of time they spend outdoors over the course of a week or two. Protect the seedlings from strong winds and direct sunlight during this process. This process prevents transplant shock and allows the seedlings to adjust to the outdoor environment.
Preparing the Garden Bed:
Choose a location in your garden that receives at least 6-8 hours of sunlight per day. Tomatoes prefer well-drained soil that is rich in organic matter. Amend the soil with compost or other organic matter to improve its fertility and drainage.
Transplanting:
- Dig Holes: Dig holes in the garden bed that are slightly larger than the root balls of the seedlings. Space the holes 2-3 feet apart, depending on the variety of tomato.
- Remove Seedlings: Gently remove the seedlings from their containers, being careful not to damage the roots. If the seedlings are root-bound (the roots are circling around the bottom of the container), gently loosen the roots before planting.
- Plant Seedlings: Place the seedlings in the holes and backfill with soil, gently firming the soil around the base of the plants.
- Water Thoroughly: Water the seedlings thoroughly after transplanting.
- Add Support: Provide support for the tomato plants using stakes, cages, or trellises. This will help keep the plants upright and prevent the fruits from touching the ground.
To help your garden thrive and get the most out of your freshly planted tomato seeds, consider using a reliable garden hose to ensure consistent watering. A 75 FT garden hose with a 10-function nozzle, leak-proof metal connector, and kink-free design will make watering a breeze! The metal connector and wear-resistant design provide extra durability, and the lighter weight makes it easy to move around your garden. Check out this great option here: https://amzn.to/3Yv E0Bo. This versatile watering tool can also be used to wash your car or your pet.
Caring for Your Tomato Plants
Once your tomato plants are transplanted into the garden, it is important to provide ongoing care to ensure healthy growth and abundant fruit production.
Watering:
Tomatoes need consistent watering, especially during hot, dry weather. Water deeply and regularly, aiming to keep the soil consistently moist but not waterlogged. Avoid overhead watering, which can promote fungal diseases. Instead, water at the base of the plants, using a soaker hose or drip irrigation system.
Fertilizing:
Tomatoes are heavy feeders and benefit from regular fertilization. Use a balanced fertilizer specifically formulated for tomatoes, following the instructions on the fertilizer packaging. Side-dress the plants with fertilizer every few weeks, starting after the first fruits have set.
Pruning:
Pruning tomato plants can help improve air circulation, reduce the risk of disease, and encourage fruit production. The type of pruning you do depends on the type of tomato plant you are growing. Determinate tomato plants (bush varieties) require minimal pruning, while indeterminate tomato plants (vining varieties) require more extensive pruning. Remove suckers (the small shoots that grow between the main stem and the branches) to promote air circulation and fruit production.
Pest and Disease Control:
Monitor your tomato plants regularly for pests and diseases. Common tomato pests include aphids, tomato hornworms, and whiteflies. Common tomato diseases include early blight, late blight, and blossom end rot. Use organic pest control methods and disease-resistant varieties to minimize problems. If you notice any signs of pests or diseases, take action promptly to prevent them from spreading.
Enjoying Your Homegrown Tomatoes
Growing tomatoes from seed can be an extremely rewarding experience. Using the seeds from a tomato to grow new tomato plants brings a unique satisfaction, and the flavor of homegrown tomatoes is simply unbeatable. With a little planning and effort, you can enjoy a bountiful harvest of delicious, homegrown tomatoes all season long. Remember to select the right tomato variety, properly ferment the seeds, start the seeds indoors, harden off the seedlings, and provide ongoing care to the plants. Happy gardening!