Imagine vibrant bursts of red cascading from a hanging basket, a miniature tomato vineyard right outside your door. Growing cherry tomatoes in a hanging basket isn't just a charming aesthetic choice; it's a surprisingly practical way to enjoy fresh, homegrown goodness, even if you're short on space. It's easier than you might think, and the rewards are delicious! Growing Cherry Tomatoes in Hanging Baskets: A Complete Guide Growing cherry tomatoes in hanging baskets offers a delightful way to bring fresh produce to even the smallest spaces. Whether you have a sprawling garden or a tiny balcony, the vibrant foliage and sweet, juicy fruits of cherry tomatoes add beauty and flavor to your surroundings. This guide will walk you through every step, from choosing the right basket to harvesting your bountiful crop. Consider these tips your keys to unlocking a cascade of delicious cherry tomatoes right at your fingertips! Why Choose Hanging Baskets fo...
The allure of a juicy, sun-ripened tomato, bursting with flavor, is undeniable. And for many gardeners, that journey begins indoors, long before the last frost kisses the ground. But figuring out when to actually start those seeds indoors is crucial. Start too early, and you'll have leggy, stressed plants begging for the outdoors before it's safe. Start too late, and you risk missing out on the peak of tomato season. So, the million-dollar question: when is therighttime to start your tomato seeds indoors?
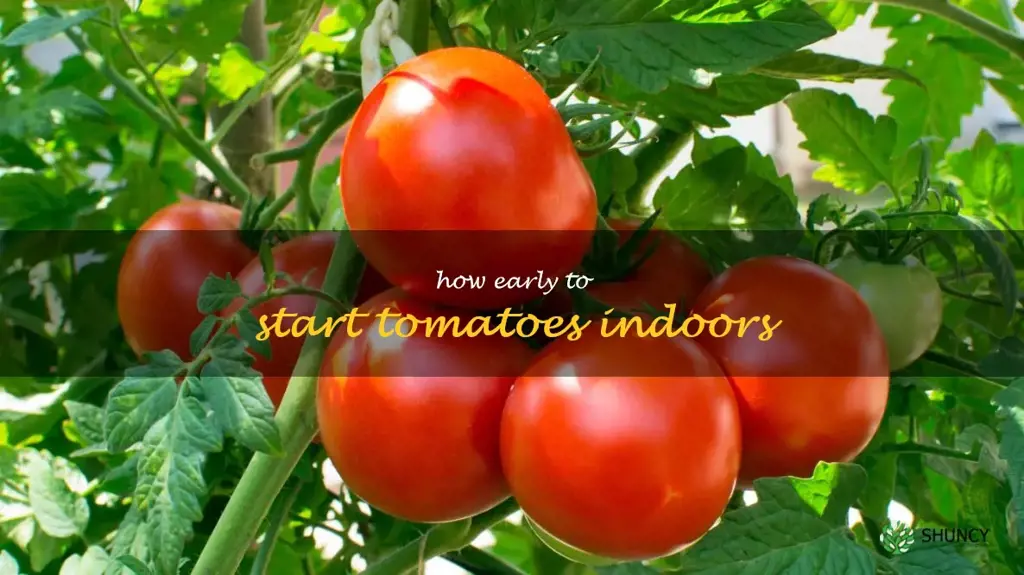
Determining the Ideal Time: How Early Should I Start Tomatoes Indoors?
The answer to the question "How early should I start tomatoes indoors?" isn't a one-size-fits-all solution. It depends primarily on your local climate and the specific variety of tomato you're growing. As a general rule, you should aim to start your tomato seeds indoors approximately6-8 weeks before the last expected frost date in your region. However, this is just a starting point. Let's break down the factors you need to consider.
Understanding Your Last Frost Date
The last frost date is the average date when you can expect the final frost of the spring season in your area. This date is critical because tomatoes are incredibly sensitive to frost. Even a light frost can damage or kill young tomato plants. You can find your local last frost date information from several sources, including:
- Your Local County Extension Office: They are the best resource for localized gardening information, including average frost dates.
- Online Weather Websites: Many websites provide historical weather data and average frost dates for specific zip codes.
- Experienced Local Gardeners: Seasoned gardeners in your neighborhood will have firsthand knowledge of local weather patterns and can offer valuable advice.
Keep in mind that the last frost date is anaverage. There's always a chance of a late frost, so it's wise to add a buffer of a week or two to your calculations. This is especially important if you live in an area with unpredictable weather.
Tomato Variety and Maturity Time
Different tomato varieties have different maturity times, which is the number of days it takes for the plant to produce ripe fruit after transplanting. Early-season varieties, such as 'Early Girl', mature faster than late-season varieties, like 'Brandywine'. Consider the maturity time when determining how early to start your seeds indoors.
- Early-Season Varieties (50-65 days): These can be started about 6 weeks before the last frost.
- Mid-Season Varieties (65-80 days): Start these around 7 weeks before the last frost.
- Late-Season Varieties (80+ days): These might need a head start of 8 weeks or more before the last frost.
The seed packet should provide information on the variety's maturity time. Use this information to fine-tune your sowing schedule. For instance, if you’re growing several varieties, you can stagger your sowing schedule to ensure a continuous harvest throughout the season.
Growing Conditions and Space Considerations
Even with the best planning, starting tomatoes too early indoors can lead to problems. Overgrown seedlings can become leggy, weak, and difficult to transplant. Consider the space you have available indoors for growing seedlings. Do you have enough space for larger plants? Do you have adequate lighting?
Here's why your indoor environment is so critical when pondering "how early should I start tomatoes indoors?":
- Light: Tomato seedlings need at least 6-8 hours of direct sunlight per day or 14-16 hours of artificial light. If they don't get enough light, they will become leggy and weak.
- Temperature: The ideal temperature for tomato seedlings is between 70-75°F during the day and 60-65°F at night.
- Humidity: Tomato seedlings thrive in moderate humidity levels.
- Potting Mix: Use a high-quality seed-starting mix that is well-draining and provides essential nutrients.
If you lack adequate light or space, it's better to err on the side of starting your seeds later rather than earlier. You can always purchase transplants from a local nursery if you miss your window.
Step-by-Step Guide to Starting Tomato Seeds Indoors
Now that you understand the factors to consider, let's walk through the process of starting tomato seeds indoors.
Gather Your Supplies
Before you begin, gather all the necessary supplies:
- Tomato seeds
- Seed-starting trays or containers
- Seed-starting mix
- Watering can or spray bottle
- Heat mat (optional but recommended)
- Grow lights (optional but recommended)
- Labels and a permanent marker
Sowing the Seeds
Follow these steps to sow your tomato seeds:
- Moisten the seed-starting mix with water.
- Fill the seed-starting trays or containers with the moistened mix.
- Sow the seeds about ¼ inch deep, placing 2-3 seeds per cell.
- Gently cover the seeds with the mix.
- Water gently to ensure the mix is evenly moist but not waterlogged.
- Label each tray or container with the tomato variety and date of sowing.
Providing Optimal Growing Conditions
To ensure successful germination and healthy seedling growth, provide the following conditions:
- Warmth: Place the seed-starting trays on a heat mat to maintain a soil temperature of 70-80°F. This will significantly improve germination rates.
- Light: Position grow lights 2-4 inches above the trays. Adjust the lights as the seedlings grow.
- Moisture: Keep the soil consistently moist but not soggy. Water gently as needed, using a spray bottle to avoid disturbing the seedlings.
- Air Circulation: Good air circulation helps prevent fungal diseases. Use a small fan to provide gentle airflow around the seedlings.
If you're looking for a convenient solution to get your tomato seedlings off to a strong start, consider an Upgraded Seed Starter Tray with Grow Lights and Heat Mat. This 3-in-1 system provides everything you need, including a soil meter and sticky gnat traps, all in a 40-cell tray. Check it out on Amazon: https://amzn.to/3Sjp Saz.
Transplanting Seedlings
Once the seedlings have developed their first set of true leaves (the leaves that appear after the initial seed leaves, or cotyledons), it's time to transplant them into individual pots. This will give them more room to grow and prevent them from becoming root-bound.
- Gently remove the seedlings from the seed-starting trays, being careful not to damage the roots.
- Transplant each seedling into a 3-4 inch pot filled with potting mix.
- Bury the stem up to the first set of leaves. This will encourage the plant to develop a stronger root system.
- Water the seedlings gently.
- Continue providing optimal growing conditions as described above.
Hardening Off Your Tomato Seedlings
Before transplanting your tomato seedlings outdoors, it's essential to "harden them off." This process gradually acclimates the seedlings to the outdoor environment, reducing the risk of shock and ensuring successful transplanting.
- Start by placing the seedlings outdoors in a sheltered location for a few hours each day, gradually increasing the amount of time they spend outside.
- Protect the seedlings from direct sunlight and wind during the hardening-off process.
- After about a week, the seedlings should be ready to be transplanted into the garden.
Transplanting into the Garden
Once the danger of frost has passed and the soil has warmed up, you can transplant your tomato seedlings into the garden. Choose a sunny location with well-drained soil. Space the plants according to the recommendations for the specific variety you are growing.
Dig a hole slightly larger than the root ball of the seedling. Gently remove the seedling from the pot and place it in the hole. Bury the stem up to the first set of leaves. This will encourage the plant to develop a stronger root system. Water the plant thoroughly and add a layer of mulch around the base to help retain moisture and suppress weeds.
Common Mistakes to Avoid When Starting Tomato Seeds Indoors
Knowing how early to start tomatoes indoors is just the beginning. Here are a few common mistakes to avoid:
- Starting too early: As we've discussed, this can lead to leggy, weak plants.
- Overwatering: Overwatering can lead to fungal diseases and root rot.
- Underwatering: Underwatering can stunt growth and cause the seedlings to wilt.
- Insufficient light: Lack of light will result in leggy, weak plants.
- Neglecting to harden off: Transplanting seedlings directly into the garden without hardening them off can cause shock and death.
The Payoff: Delicious Homegrown Tomatoes
Starting tomato seeds indoors requires a bit of planning and effort, but the rewards are well worth it. Nothing compares to the taste of a homegrown tomato, bursting with flavor and sunshine. By following these guidelines, you can ensure a successful start to your tomato-growing season and enjoy a bountiful harvest of delicious tomatoes.